Here is the quick review and set-up video:
As a first-time user, we understand that you might have some questions and concerns about how to properly handle and maintain your Zyber 8S. This guide will walk you through some important points. We highly recommend reading this manual before launching your device.
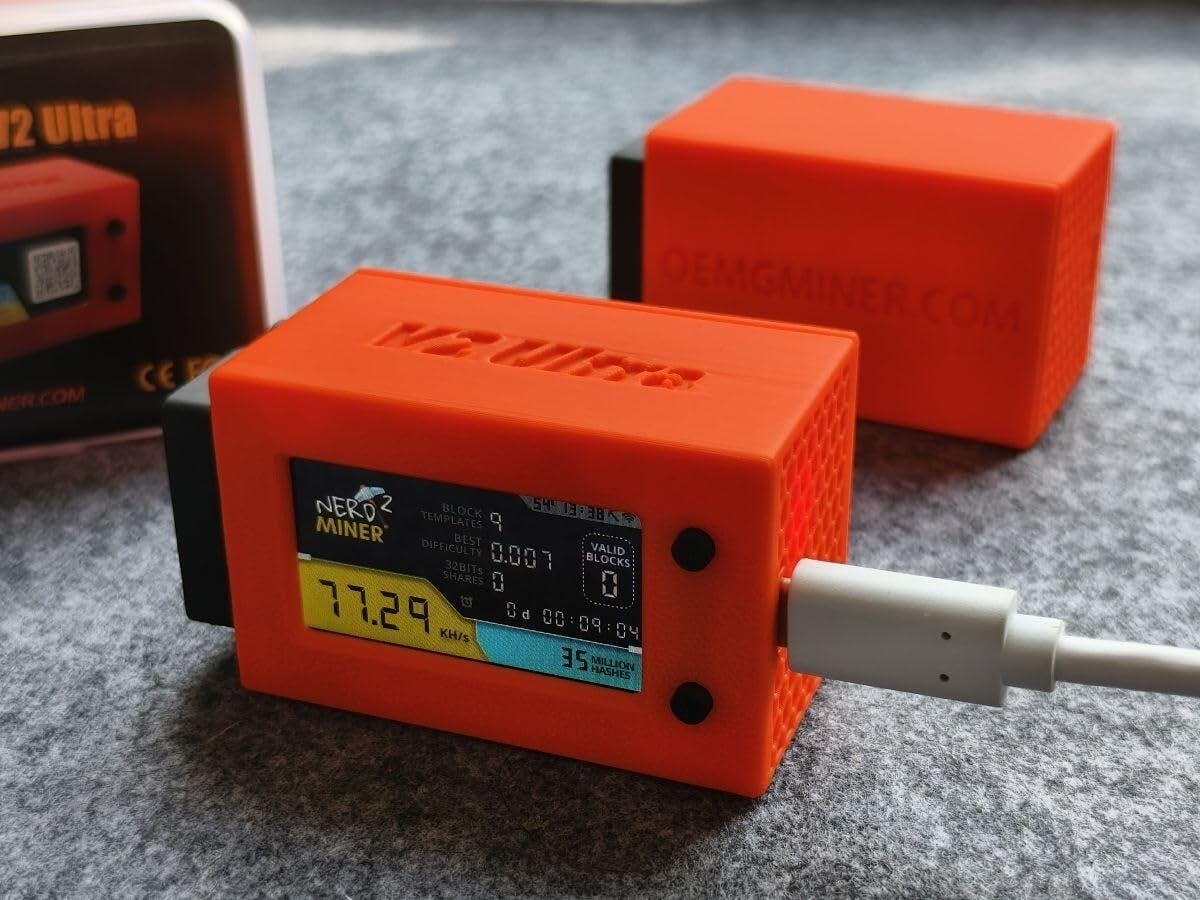
As the Zyber powers up, the screen will light up, and its WiFi module will automatically activate. This indicates that the device is ready for the next step of the setup process.
1. On your smartphone, tablet, or computer, open the settings menu and navigate to the Wi-Fi settings. In the list of available wireless networks, look for the network named "Zyber_XXXX" and connect to it. Once your device is successfully connected to the Zyber's Wi-Fi network, a captive window will automatically pop up on your screen.
* If you cannot search for the network named 'Zyber_XXXX' or connect to it but the pop-up window is not fully loaded, you are probably too far away from it. Please get closer and try again!
* If you have successfully connected to the Zyber network but the pop-up window doesn't appear, it's probably being blocked by your default browser. You can try using your phone or another browser(Safari, Chrome) to enter the default IP address 192.168.4.1 and access the configuration page.
2. Enter the desired device name in the "Hostname" field, click the magnifying glass icon on the right to search for available network signals or input the target Wi-Fi network name in "Wi-Fi SSID" field, then type the password in "Wi-Fi Password" field.
* Please verify that the Wi-Fi SSID and password are entered with exact case matching, eliminate the extra spaces as well, discrepancies will prevent connection!
3. At last, click "Save" and restart the device.
* Notice that The ESP32-S3 WiFi module can only receive 2.4G network signals,while 5G is not supported. Please check your router if you can't find an available wifi network.
If this screen appears, congratulations—you have successfully connected to the network!
Ⅲ. Pool Configuration
Now you can enter the IP address shown on the screen to access the AxeOS page of your device. You can check your status in the Dashboard and modify your miners here. Now please go to the “Pool Setting” and complete the pool configuration first:
1. Stratum Host: Enter the pool address you want to mine at. If you are new to mining and unsure how to choose a pool, you can find a guide here.
2. Stratum Port: A port number used for communication between your miner and the pool server. Normally, you can find this in the pool's documentation.
3. Stratum User: Enter your crypto wallet address here. Please ensure your wallet is compatible with the cryptocurrency you are mining. To identify multiple machines on the pool, append '.device_name' to your wallet address (e.g., wallet_address.device_name). This formatting does not alter the original wallet address or affect its functionality.
4. Stratum Password: Most mining pools do not require a password, so you can leave this field blank. If supported by the pool, you may try entering "diff=xxx" (e.g., diff=10000) to communicate with the mining pool and request a difficulty adjustment tailored to your miner's capabilities.
5.Fallback Stratums: This refers to backup mining pool configuration details. If the system fails to connect to the primary pool, it will automatically attempt to establish a connection with the fallback pool.
* The default Stratum configuration is Tinychiphub's test pool. We test every unit before shipping. You can modify these settings at any time.
At last, click "Save" and restart the device. If you can see the hashrate in the Dashboard page. Congrats! You are mining now! May the hash be with you!