Buy Gekkoscience Compac A1 USB Bitcoin Miner Click Here
Introduction
In this guide, we will walk you through the process of setting up and using the Compact A1 USB Miner, the most powerful USB miner available today, with a Windows computer. This guide is perfect for anyone who has a spare Windows computer or laptop and wants to utilize its USB ports for Bitcoin mining.
Step 1: Preparing Your Equipment
- Purchase the Compact A1 USB Miner: You can buy it from BitcoinMerch.com.
- Additional Equipment: The package includes a USB fan to keep the miner cool, which is essential for its operation.
- USB Ports: You will need two USB ports—one for the miner and one for the USB fan.
Step 2: Setting Up the Hardware
- Attach the Fan: Clip the fan onto the miner to ensure it stays cool.
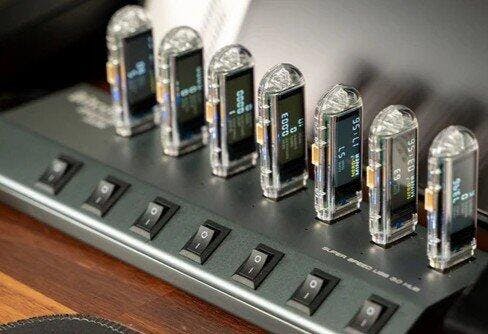
- Using a USB Hub: To get the most out of your miner, use a USB hub designed for the Compact A1. This hub provides enough power for optimal performance.
Step 3: Connecting to the Computer
- Plugging In: Connect the USB miner and the fan to the USB hub. Then, plug the hub into your computer.
- Power Supply: Make sure to connect the hub to its power supply.
Step 4: Installing the Software
- Download the Software: Go to BitcoinMerch.com, navigate to the Compact A1 product page, and download the Windows-compatible software.
- Unzip the Software: Extract the downloaded files to your desktop.
Step 5: Configuring the Miner
- Zadig Tool: Open Zadig, click on options, and select "List All Devices". If you have multiple A1s connected, you will see multiple ASIC bus interfaces. Install the driver for each one.
- Editing Configuration: Right-click on Start Miner and edit it in Notepad. Change the payout address to your Bitcoin address and configure the pool information. The default is CK Pool.
Step 6: Starting the Miner
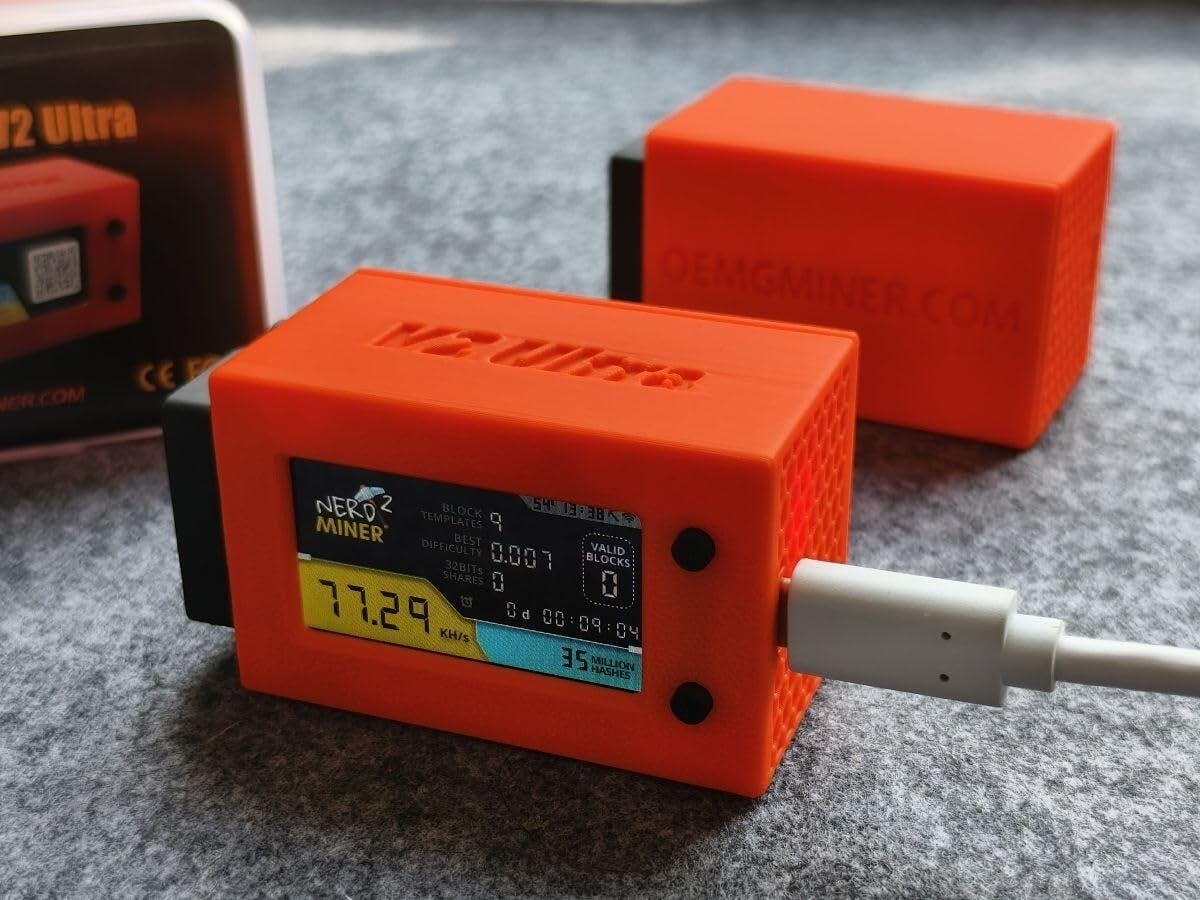
- Start Mining: Click on Start CG Miner and wait for it to begin. The miner will start hashing right away.
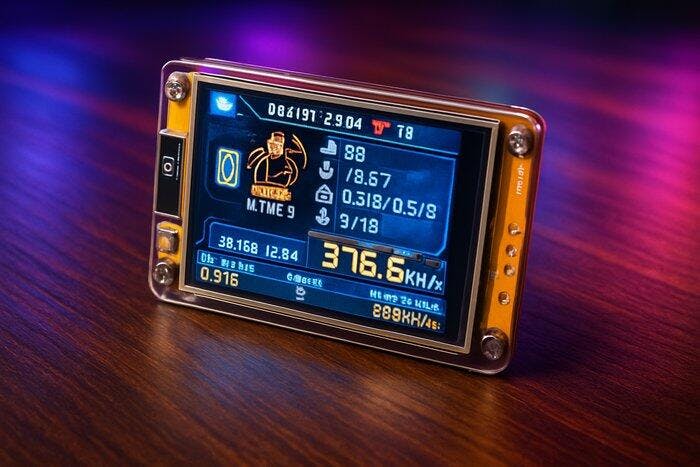
- Monitoring Performance: You can monitor the hash rate and temperature. The default frequency is set to 350 MHz, but you can adjust it if needed.
Step 7: Advanced Tips
- Smart Hub: Consider using a Smart Hub for more extensive mining operations. It can support multiple miners and offers better performance.
- Overclocking: You can experiment with overclocking to achieve higher hash rates.
Conclusion
Setting up the Compact A1 USB Miner on a Windows computer is a straightforward process. By following this guide, you can start mining Bitcoin efficiently and potentially become a successful solo miner. If you have any questions or need further assistance, feel free to reach out for support. Happy mining!