-
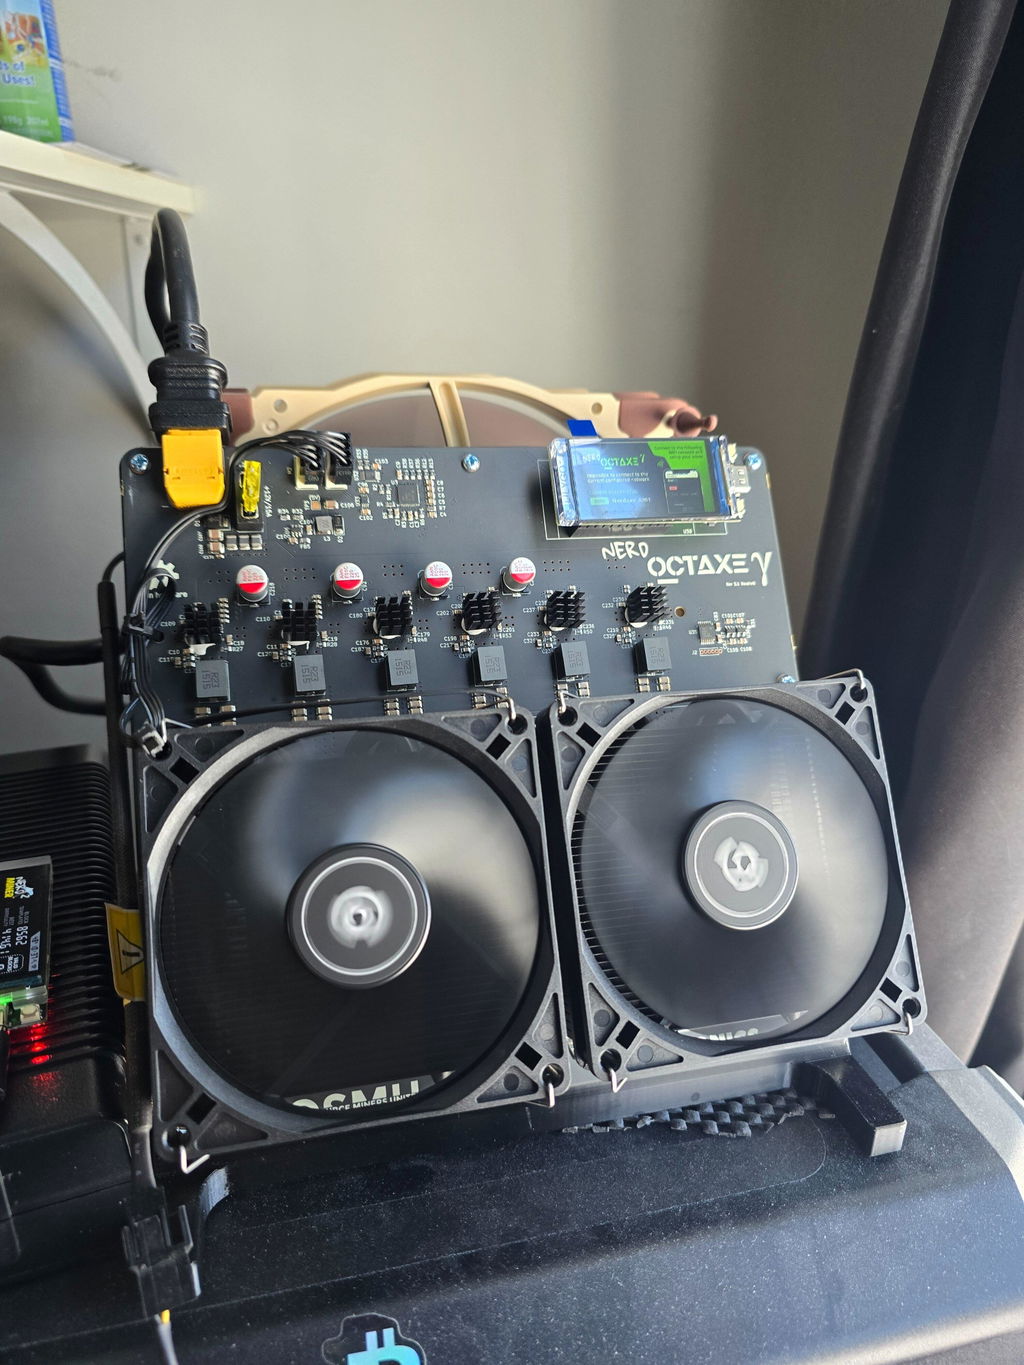
Connect the USB Nerd Miner:
- Plug your Nerd Miner into a USB port on your computer or a power source.
- After a few seconds, a message will appear on the display instructing you to connect to its Wi-Fi.
-
Connect to the NerdMiner Wi-Fi:
- On your smartphone or PC, go to Wi-Fi settings and select the network NerdMinerAP.
- Use the password: MineYourCoins to connect.
-
Configure Wi-Fi & Bitcoin Address:
- Once connected, your device will open a browser page automatically. If it doesn't, manually navigate to 192.168.4.1 in your web browser.
- Choose Configure Wi-Fi, select your home Wi-Fi network (Must be 2.4GHz - will not mine if it is 5G), and input your Wi-Fi password.
- In the field for “Your BTC address,” input your Bitcoin wallet address (this is where block rewards will be sent if your miner finds a block). Ensure to remove any placeholder text like "yourBtcAddress." If you do not enter a valid Bitcoin wallet address, your miner will not mine
-
Start Mining:
- Once you've entered your details, hit Save and restart your Nerd Miner.
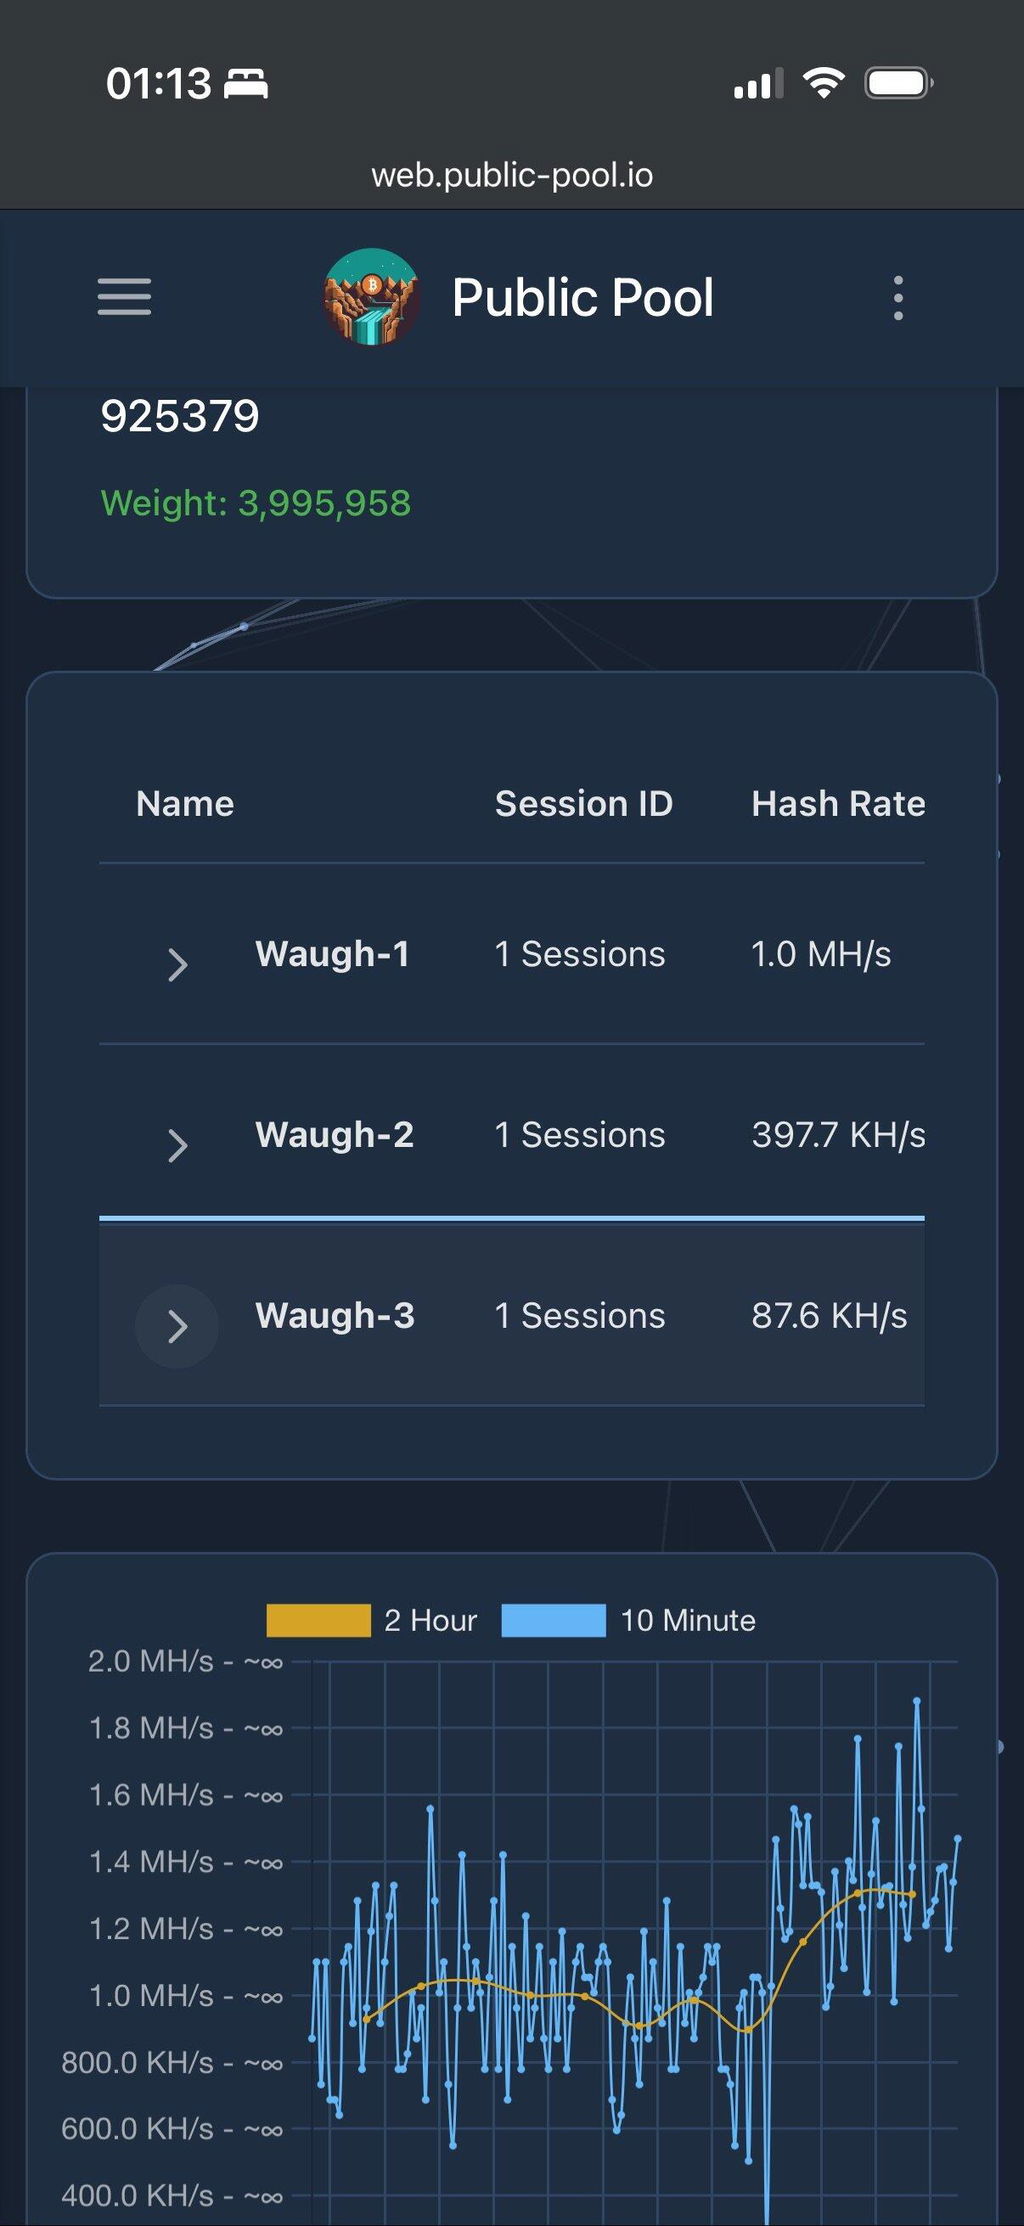
- It will automatically connect to your Wi-Fi network and start mining. You can monitor your miner’s progress on the mining pool's website by entering your Bitcoin address.
We highly recommend AGAINST flashing your device. Doing so voids your warranty and may brick your miner.
Get Your Nerd Miner Today!
At just $25, the Nerd Miner is an affordable way to experience solo Bitcoin mining! Perfect for beginners and enthusiasts alike. Grab yours now at BitcoinMerch.com and start your mining journey today!