Here is the quick review and set-up video:
This guide walks you through each step to get your mining rig up and running quickly and effectively.
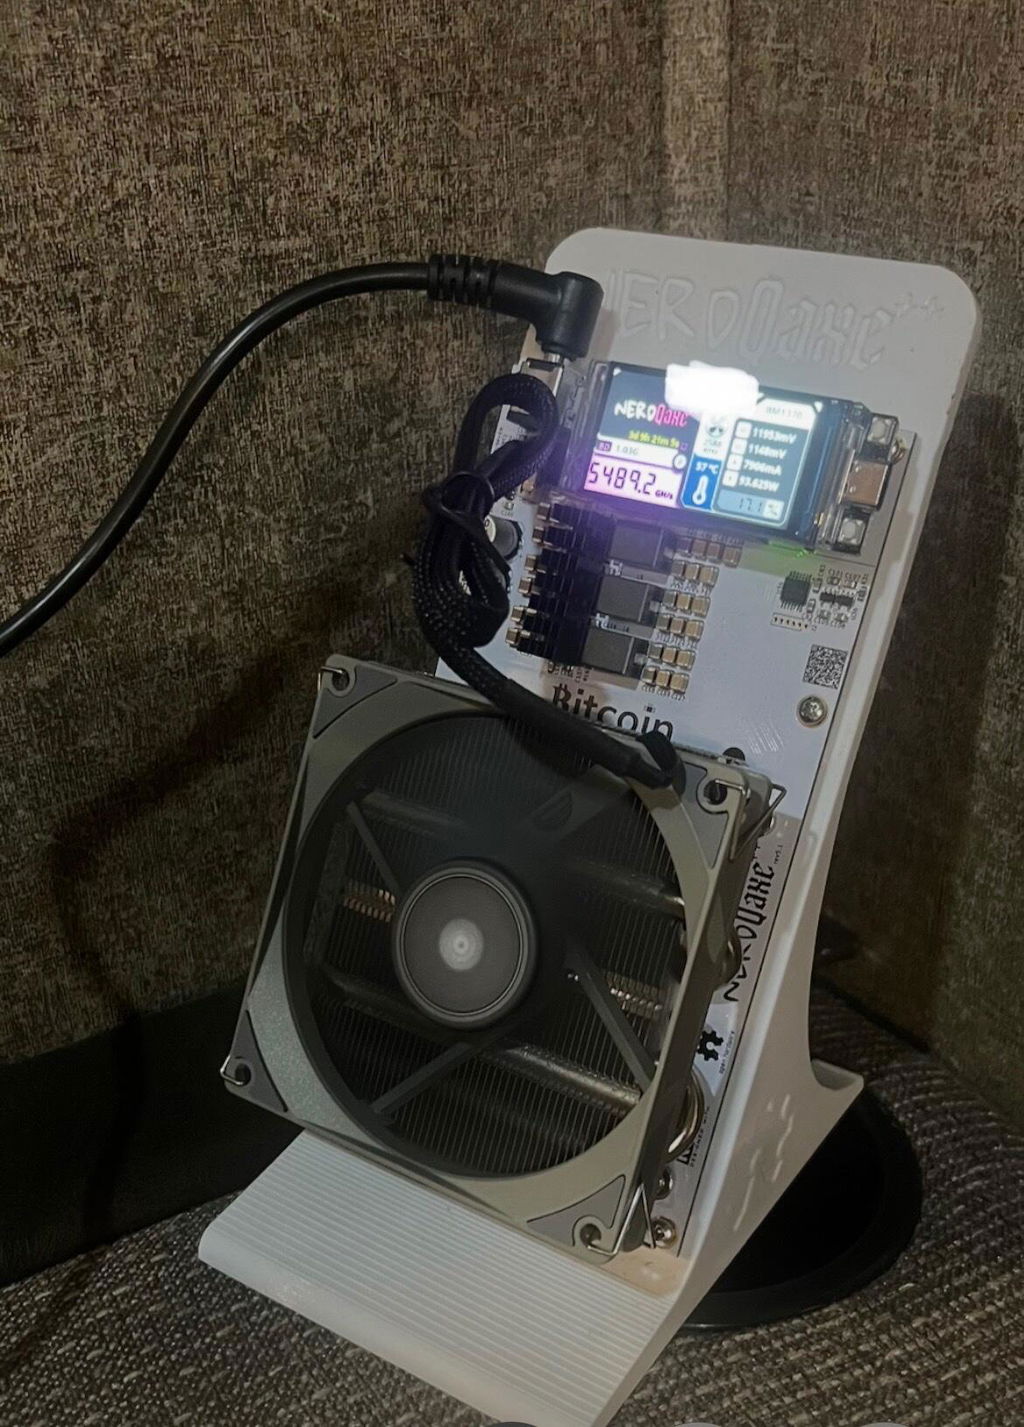
Step 1: Attaching the Screen
- Your Bitaxe Gamma includes a detachable screen which may be unattached during shipment to protect it during transit. If it is not connected already, attach the screen to the unit using the provided fixtures at the top of the board.
Step 2: Power Connection
- Connect the power cable to a suitable wall outlet. The Bitaxe Gamma is compatible with global voltage standards.
- Attach the other end of the power cable to your miner.
Step 3: Initial Boot-Up
- Power on your device and wait for the screen to display "Bitaxe_XXXX," indicating it is ready for setup.
Step 4: Wi-Fi Connection
- Use your smartphone or computer to locate and connect to the "Bitaxe_XXXX" Wi-Fi network. Select 'YES' if asked to continue without internet access.
Step 5: AxeOS Setup
- Under the 'Settings' in AxeOS, enter your home Wi-Fi details:
- Wi-Fi ID: Your 2.4G Wi-Fi SSID
- Wi-Fi Password: Make sure it's correct to avoid issues.
- Click Save then Restart
Step 6: Customizing Your Miner
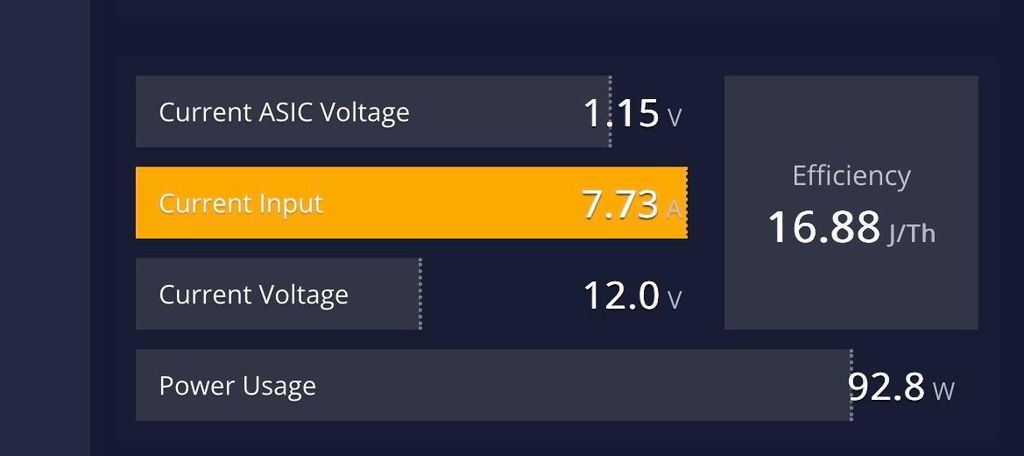
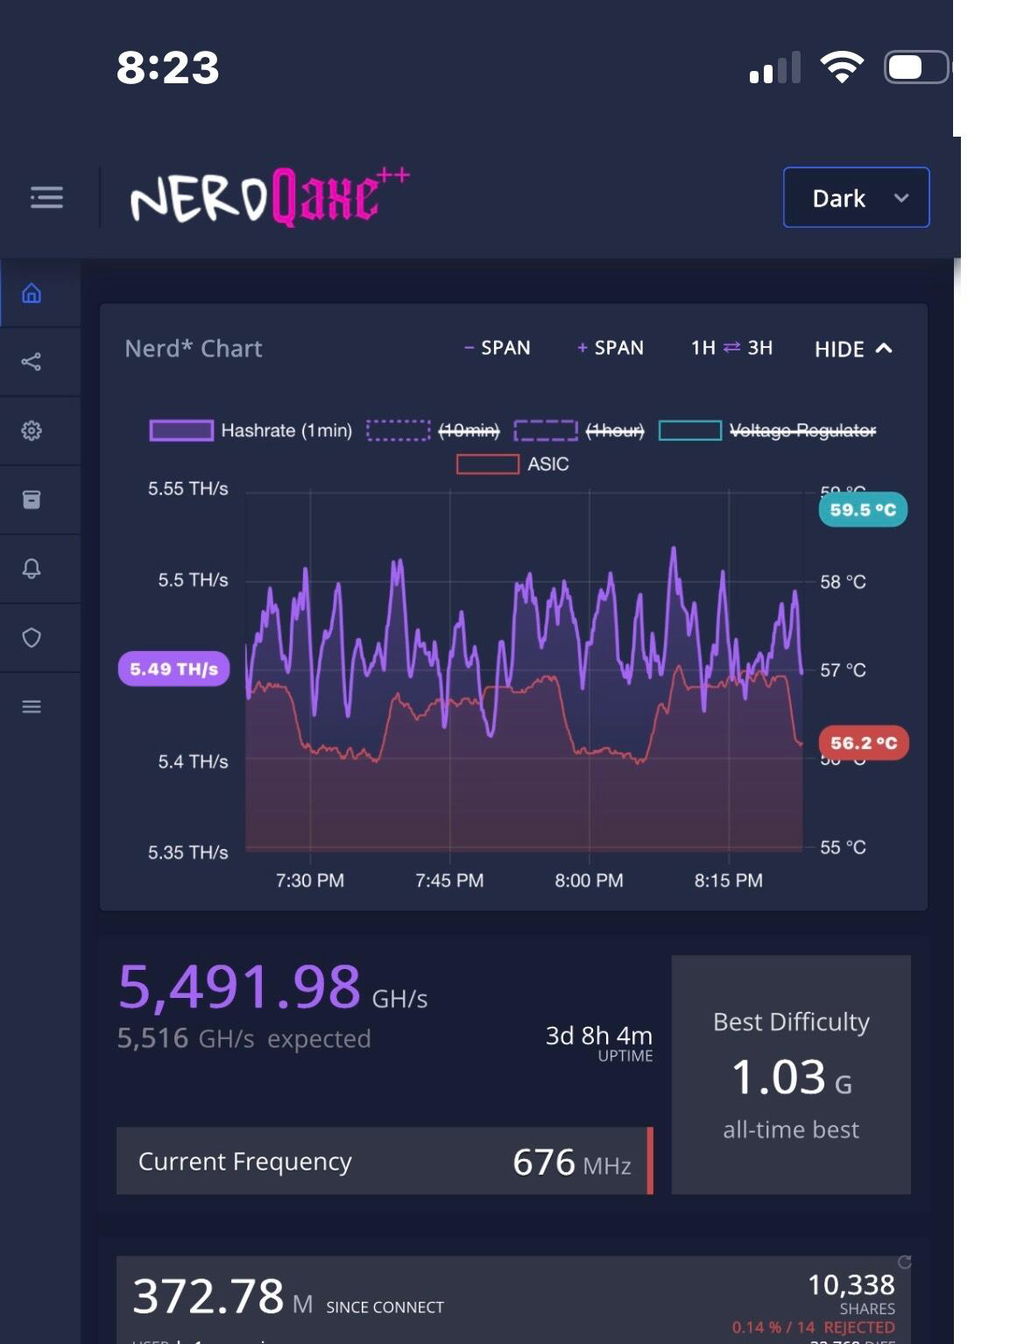
- Once connected to WiFi the screen on the Bitaxe will display an IP address (192.168.x.xxx). You can type this into any browser to access settings when in proximity to the miner.
- MOST IMPORTANT STEP - Set 'Stratum User' to your Bitcoin wallet address (must start with "bc" "1" or "3") or mining username if you are joining a pool. IF YOU DON'T CHANGE THIS FIELD YOU WON'T RECEIVE ANY BLOCK REWARDS
- Enter the 'Stratum URL' of your preferred Bitcoin pool (omit 'TCP://').
Our recommended Solo Pool (Lottery Mining) settings:
Stratum Host:
pool.bitcoinmerch.com
Stratum Port:
3333
Stratum User:
yourBTCaddressHERE
Password:
Doesnt matter
Fallback Stratum Host:
solo.ckpool.org
Fallback Stratum Port:
3333
Fallback User:
yourBTCaddressHERE
Password:
Doesnt matter
Upgrading the Firmware
- AVOID UPDATING THE FIRMWARE - IT MAY BREAK THE UNIT. Thank you!

Need Help?
- Contact our support team at support@bitcoinmerch.com for any assistance. Please reference this guide’s URL for quicker service.
Get your Bitaxe Gamma from Bitcoin Merch and enjoy a powerful mining experience with ease. Start mining like a pro today.