Buy the Upgrade Kit
The 120mm Fan Upgrade Kit Includes:
- 1x 120mm 3000RPM Arctic Fan
- 1x Helix Shroud Adapter (Attached to fan)
- 1x Stand Attachment for 90mm Stock Fan
- 4x Mounting Screws
What you will need:
- Pliers
- Phillips Head Screwdriver
Step 1:
Unplug your miner - Do NOT plug in / unplug fans from the NerdQaxe++ while it is powered on. This could damage your miner!

Step 2:
Remove the NerdQaxe++ 90mm stock fan by pulling off the 2 metal brackets holding the fan in to the grooves in the heatsink

Step 3:
Position the Helix Shroud onto the heatsink with the air duct (with the text NerdQaxe++ HELIX) at the top of the heatsink. This blows air onto the top of the board and cools the voltage regulators. Put the brackets on one side at a time, inserting them into holes in the shroud and pulling the flat part into the heatsink groove. It should fit firmly onto the miner. Note - you may need to bend the brackets with pliers slightly to make them fit - this is okay!

Step 5:
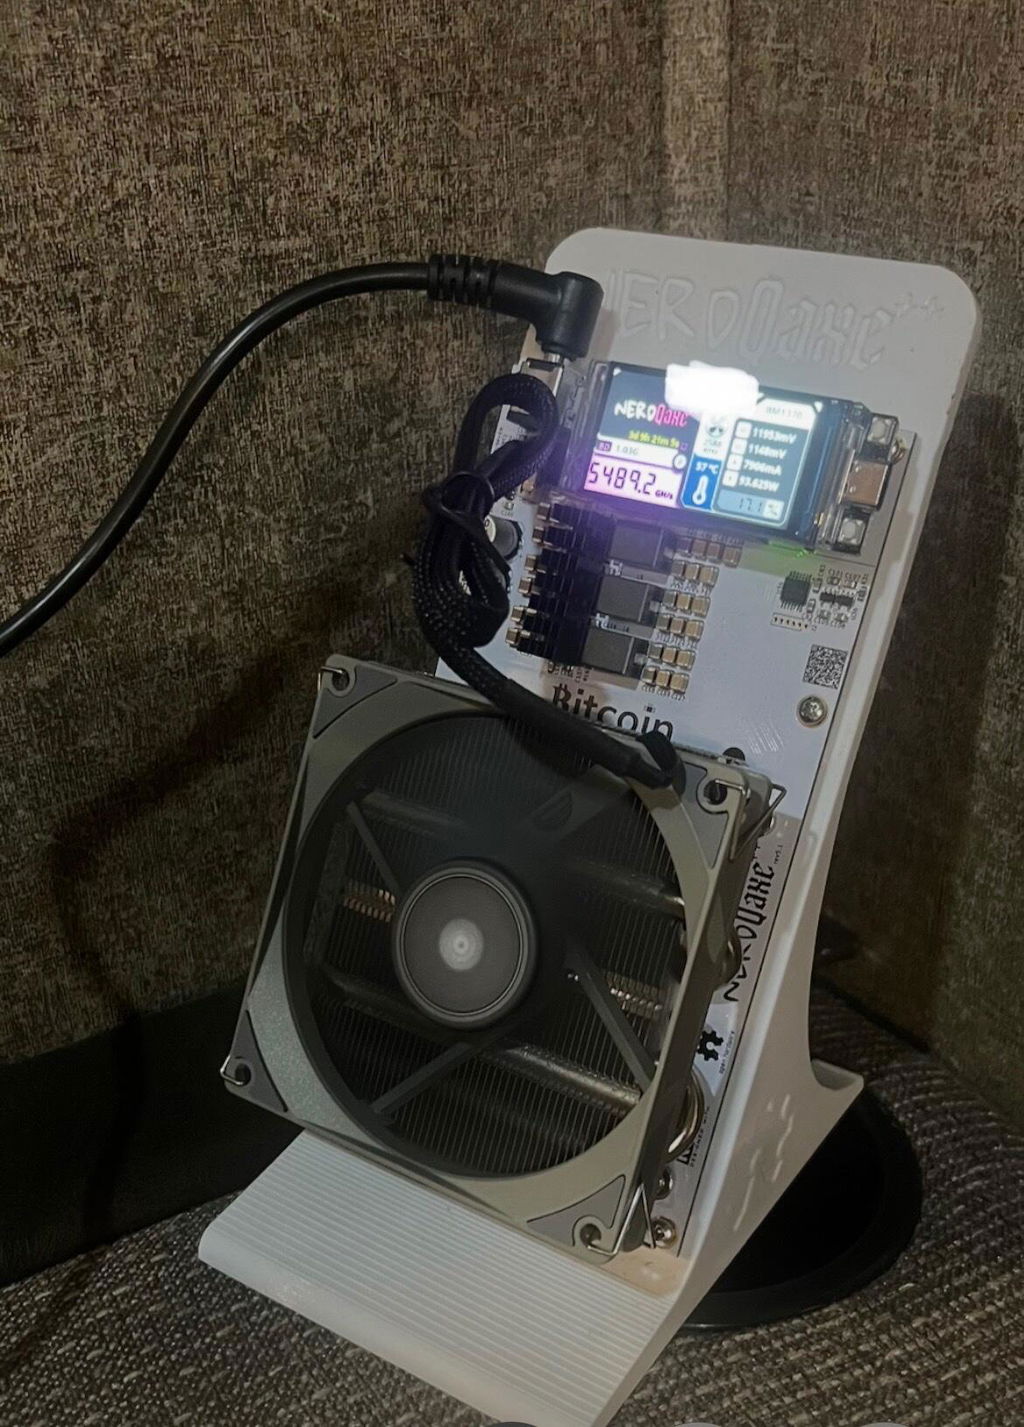
Plug the fan into the lower of the two 4 pin ports next to the NerdQaxe++'s screen

Step 6:
Screw the stock 90mm fan that was previously on the miner to the Stand Attachment using the screws

Step 7:
Place the Stand Attachment over the stand and plug the 90mm fan into the upper 4 pin port

You're done! You can now power up your NerdQaxe++ and enjoy the lower temperatures with fans cooling both sides of the board!