-
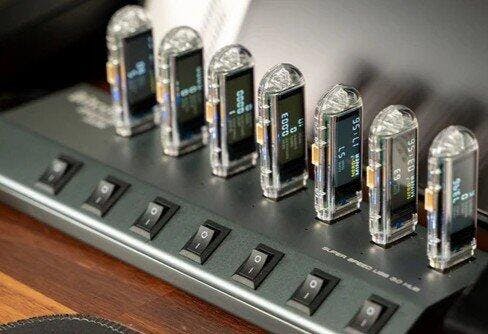
Connect the USB Nerd Miner:
- Plug your Nerd Miner into a USB port on your computer or a power source.
- After a few seconds, a message will appear on the display instructing you to connect to its Wi-Fi.
-
Connect to the NerdMiner Wi-Fi:
- On your smartphone or PC, go to Wi-Fi settings and select the network NerdMinerAP.
- Use the password: MineYourCoins to connect.
-
Configure Wi-Fi & Bitcoin Address:
- Once connected, your device will open a browser page automatically. If it doesn't, manually navigate to 192.168.4.1 in your web browser.
- Choose Configure Wi-Fi, select your home Wi-Fi network, and input your Wi-Fi password.
- In the field for “Your BTC address,” input your Bitcoin wallet address (this is where block rewards will be sent if your miner finds a block). Ensure to remove any placeholder text like "yourBtcAddress."
-
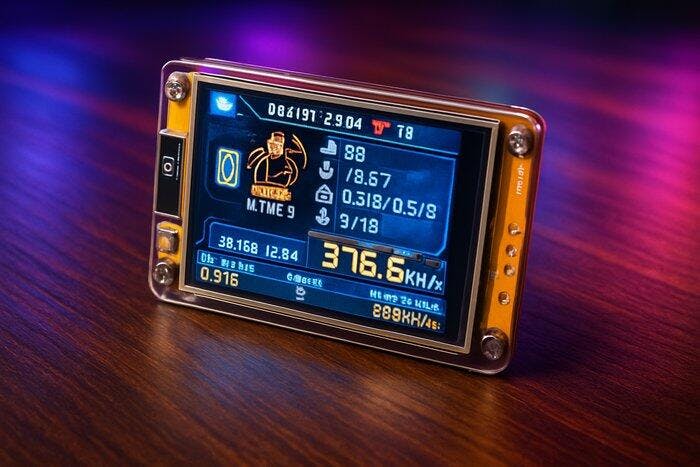
Start Mining:
- Once you've entered your details, hit Save and restart your Nerd Miner.
- It will automatically connect to your Wi-Fi network and start mining. You can monitor your miner’s progress on the mining pool's website by entering your Bitcoin address.
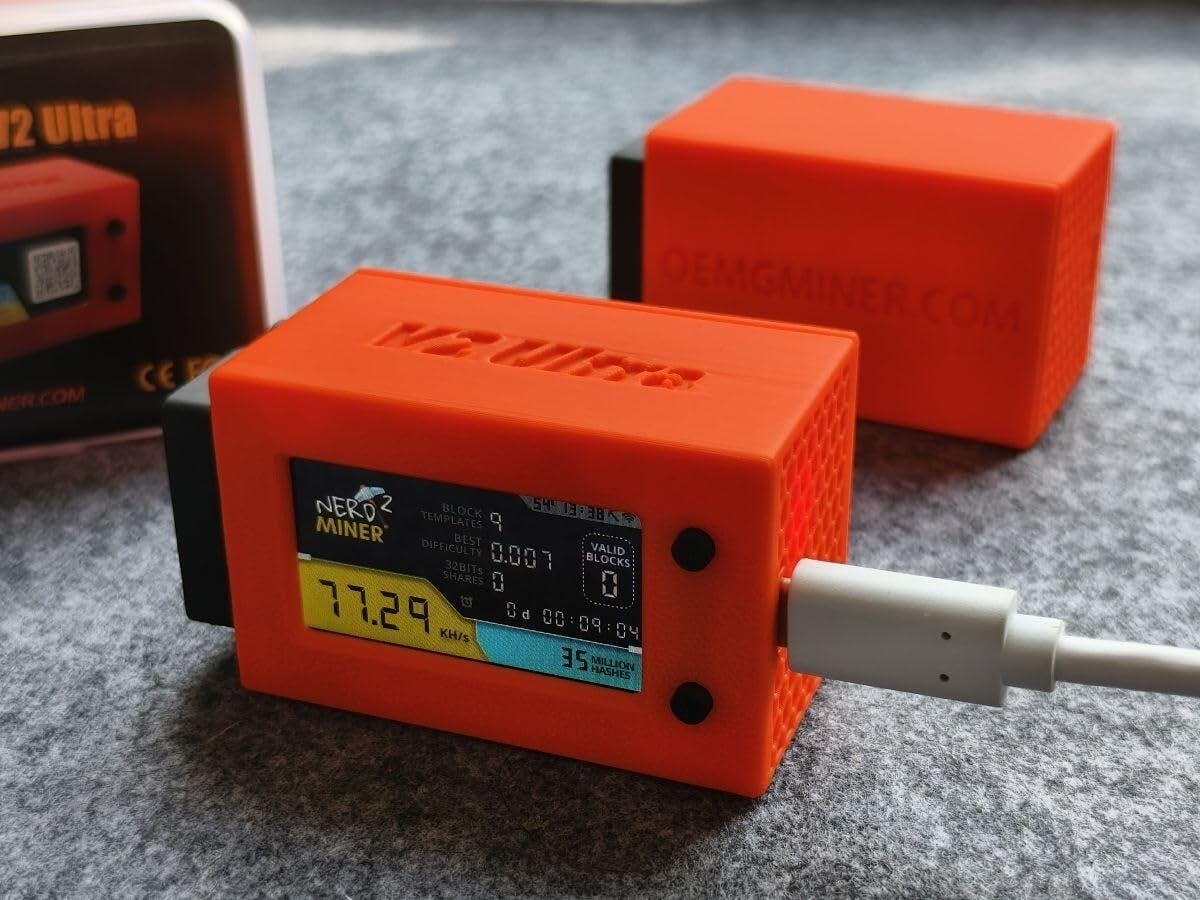
Get Your Nerd Miner Today!
At just $25, the Nerd Miner is an affordable way to experience solo Bitcoin mining! Perfect for beginners and enthusiasts alike. Grab yours now at BitcoinMerch.com and start your mining journey today!