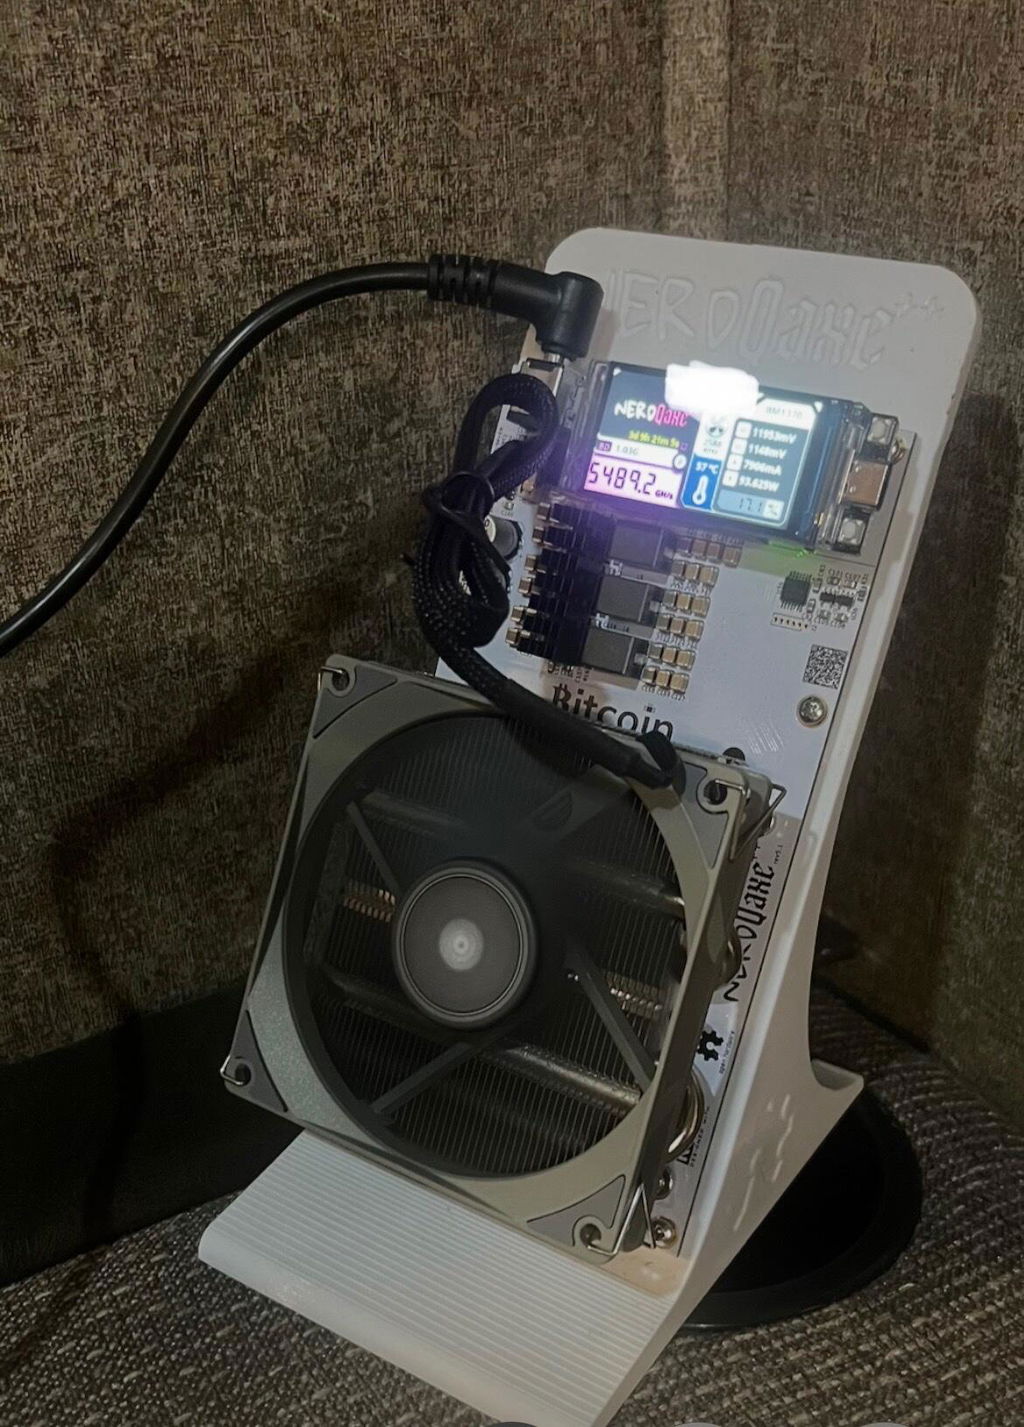
AxeDash connects to your home Wi-Fi and shows every Bitaxe on your network on one screen. Setup takes about five minutes.
What you need
- Your AxeDash and a USB power supply (5 V, any phone charger works)
- Your home Wi-Fi name and password. AxeDash uses 2.4 GHz Wi-Fi, like your Bitaxe.
- A phone or computer to run setup
- Your Bitaxe miners, powered on and connected to the same Wi-Fi network
First-time setup
- Plug in AxeDash. The screen shows AxeDash Setup and the name of its setup Wi-Fi network.
- Join the setup network. On your phone or computer, open Wi-Fi settings and connect to the network named AxeDash-XXXX. The last four characters are unique to your device.
- Open the setup page. It usually pops up on its own. If it doesn't, open a browser and go to http://192.168.4.1
- Enter your Wi-Fi details. Pick your home network and type its password, then save.
- Wait for it to connect. AxeDash restarts and joins your Wi-Fi. When it's connected, the screen shows its web address.
- Reconnect your phone or computer to your normal home Wi-Fi.
Add your miners
- On any device on your home Wi-Fi, open a browser and go to http://axedash.local. If that doesn't load, type the IP address shown on the AxeDash screen instead (for example, http://192.168.1.50).
- Add each Bitaxe on the dashboard page. You can scan your network for Bitaxes, or add them manually by IP address. Find a miner's IP address on its own screen or in your router's device list.
- Within a few seconds, each miner appears on the AxeDash screen with its live stats. AxeDash also shows the BTC price, network hashrate and difficulty.
Bought another miner? Add it the same way at any time.